YORKS AT HOME - AEROPRESS BREW GUIDE
The company that brought us the Aeropress have invented only one other thing – the Aerobie (a ring that bests any regular Frisbee). A pretty solid track record for inventions, if you ask us. The Aeropress became very popular very quickly through its ease of use and versatility. We now have Aeropress Championships, and a lot of home brewers absolutely swear by it. Some café’s even use it for a filter coffee option. Similar to the French press, the Aeropress is a full-immersion brewer, meaning all of the grind is in contact with all of the water the whole time you’re brewing. Downside: can only really make one cup at a time. Also, you'll need a timer for this one.
Step 1: Boil your kettle and let cool while you grind 15g of beans to a fine grind – somewhere between espresso and filter. (We can do this in store).
Step 2: Attach filter to holder and wet the paper filter to get rid of the paper taste. Preheat your mug and the brewer. Discard the water.
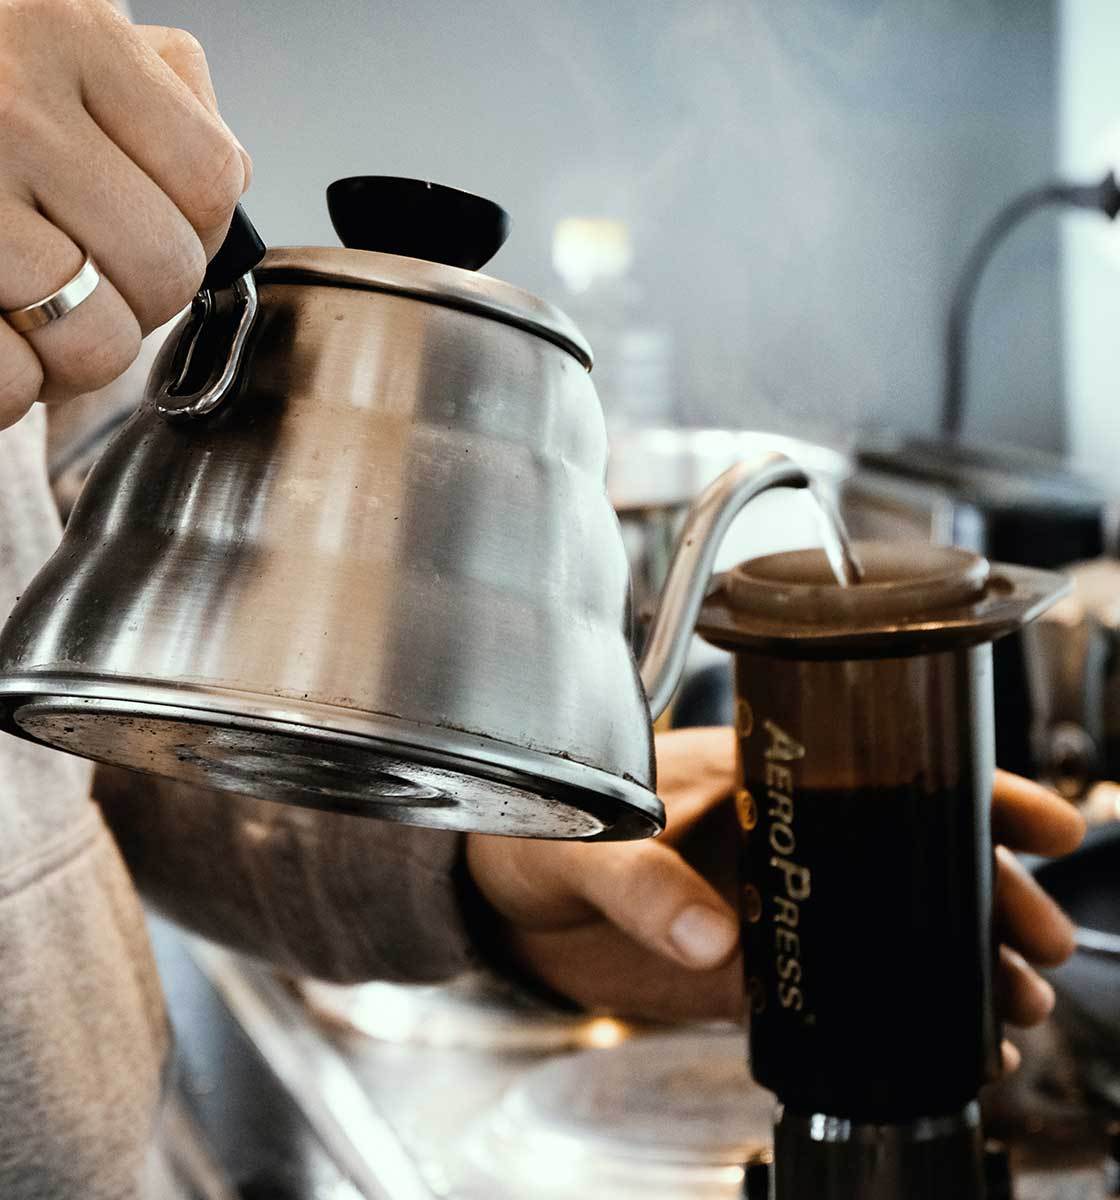
Step 3: Plop in your coffee. Start the timer and pour 250ml of water in gently, and give it a stir.
Step 4: At 1min 30s, attach the plunger half (creating a vacuum), and let it sit for 30 more seconds.
Step 5: Remove the plunger and give another gentle stir.
Step 6: At 2min 15s put the plunger back on and use both hands to gently push down, for about 30 seconds. Leave about a fingers worth of space at the bottom.
This should produce a small amount of strong coffee, which you can then add hot water to if you prefer a long drink. The great thing about the Aeropress is once you’re done you can just unclip the filter and lob the coffee puck in the bin, making it super easy to clean.
(Ordering coffee for Aeropress? Choose Immersion grind.)